
Introduction
Bit by bit, we are getting closer to a proper production setup. It’s not an openshift cluster just yet but we’ll get there eventually. Today we will be adding TLS encryption to the web server we configured earlier, creating users with roles and proper access controls. We will be building on top of the three node, three masters, bare metal k8s that we set up with fedora 42 ealier.
Here’s an overview of what we intend to setup today:

Encrypting the traffic
I initially thought of leaving out the encryption bit to the load balancer but there was no way to automate it and since there is a helm chart for this purpose already I thought it would be the perfect way to have our certificate renewals handled by the cluster itself. I have a flowchart below that explains, in a high level overview, the steps needed to provision a wildcard certificate.
The cluster issuer component describes how we intend to issue our certificates by specifying the type of challenge i.e. DNS acme challenge, the zone we intend to use as well as a secret api key. The certificate component is what triggers the creation of a certificaterequest component which is an internal resource that tracks the actual request process. The CertificateRequest then triggers the creation of an Order resource. This represents the actual order placed with Let’s Encrypt through the ACME protocol - basically saying “Hey Let’s Encrypt, I want a cert for this domain”. Let’s Encrypt responds with a Challenge - they need to verify you actually own the domain. Since we are using the DNS-01 challenge type, they ask the webhook component to create a specific TXT record in our domain’s DNS. The Hetzner Webhook is triggered, which spawns a Job that actually makes the API call to Hetzner’s DNS, creating the required TXT record. Once Let’s Encrypt checks the DNS and sees the TXT record is there, you’ve successfully proved you control the domain. The Certificate is issued and stored in a Secret. Our haproxy Ingress will then reference the Secret in order to encrypt the traffic.

Installing the certificates
We’ll start off by installing the cert-manager with helm, installing the hetzner plugin with helm and making sure the https traffic is allowed in the firewall
1
2
3
4
5
6
# on all nodes
firewall-cmd --permanent --add-port=443/tcp --zone=private
firewall-cmd --permanent --add-port=443/tcp --zone=public
firewall-cmd --permanent --add-port=8443/tcp --zone=private
firewall-cmd --permanent --add-port=8443/tcp --zone=public
firewall-cmd --reload
Coming back to my workstation simply run:
1
2
3
4
5
6
7
8
9
10
11
12
13
14
15
16
# on your jumphost
dnf install helm -y
kubectl apply -f https://github.com/cert-manager/cert-manager/releases/download/v1.18.2/cert-manager.crds.yaml
# if the link is not available here is an alternate link
kubectl apply -f https://raw.githubusercontent.com/hupratt/kubernetes-the-hard-way/refs/heads/part4/kubeconfiguration/a-cert-manager.crds.yaml
# Add the Jetstack Helm repository
helm repo add jetstack https://charts.jetstack.io --force-update
kubectl create namespace cert-manager
# Install the cert-manager helm chart
helm install cert-manager --namespace cert-manager --version v1.18.2 jetstack/cert-manager
# Install the hetzner plugin
git clone https://github.com/hupratt/cert-manager-webhook-hetzner.git
cd cert-manager-webhook-hetzner/deploy/cert-manager-webhook-hetzner
helm install cert-manager-webhook-hetzner . \
  --namespace cert-manager \
  --set groupName=acme.adata.de
Before triggering the process with a certificate and cluster issuer we will add the hetzner secret to the cluster
1
2
3
4
5
6
7
8
9
10
11
12
13
14
15
16
17
18
19
# you can either use the command below
kubectl create secret generic hetzner-dns-api-token \
  --from-literal=token='<YOUR_HETZNER_API_TOKEN>' \
  -n cert-manager
# or use a manifest
echo -n "<YOUR_HETZNER_API_TOKEN>" | base64

cat <<EOF > b-cert-manager-secret.yaml
apiVersion: v1
kind: Secret
metadata:
  name: hetzner-dns-api-token
  namespace: cert-manager
type: Opaque
data:
  api-key: <output from the command above>
EOF

kubectl apply -f b-cert-manager-secret.yaml
install clusterrole and role to allow the clusterissuer to make api calls
1
kubectl apply -f https://raw.githubusercontent.com/hupratt/kubernetes-the-hard-way/refs/heads/part4/kubeconfiguration/c-hetzner-webhook-rbac.yaml
configure your clusterissuer
1
2
3
wget https://raw.githubusercontent.com/hupratt/kubernetes-the-hard-way/refs/heads/part4/kubeconfiguration/d-clusterissuer-hetzner.yaml
nano d-clusterissuer-hetzner.yaml
kubectl apply -f d-clusterissuer-hetzner.yaml
configure the certificate you want to issue
1
2
3
wget https://raw.githubusercontent.com/hupratt/kubernetes-the-hard-way/refs/heads/part4/kubeconfiguration/e-wildcard-cert.yaml
nano e-wildcard-cert.yaml
kubectl apply -f e-wildcard-cert.yaml
At this point you should see instances of our CRD get spawned
1
2
3
4
5
6
7
8
kubectl get clusterissuers -n cert-manager
kubectl get challenges -n cert-manager
kubectl describe challenge wildcard-example-de-1-912921545-1421061348 -n cert-manager
kubectl get certificaterequests -n cert-manager
kubectl get orders -n cert-manager
kubectl describe order wildcard-example-de-1-912921545 -n cert-manager
kubectl get certificate -n cert-manager
kubectl describe certificate wildcard-example-de -n cert-manager
if you wish you can copy the certificate locally to have a look at what’s inside
1
kubectl get secret wildcard-cloud2-tls -n cert-manager -o yaml > tls-secret.yaml
Now the only thing left to do is configure the ingress controller to read the secret. We had previously set up an endpoint on tcp/8080 and we will now add the TLS encryption
Here’s the previous manifest and here is the new one.
Since the name is the same on both configuration, applying the new manifest should update the existing one. Once that is done, your ingress controller should be exposing 8080 and 8443 to the internet. Later on we will set a load balancer in front of our cluster to forward incoming :80 and :443 to :8080 and :8443 respectively.
Role based access control RBAC
Let’s create a kubectl config (sa.kubeconfig) that represents a service account for developers to read their logs
1
2
3
4
5
6
7
8
9
10
11
12
13
14
15
16
17
18
19
20
21
22
23
24
25
26
27
28
29
30
31
32
33
34
35
36
37
38
39
40
41
42
43
44
45
46
NAMESPACE='dev'
SERVICE_ACCOUNT_NAME='app-reader'
CERTIFICATE_PATH='/etc/pki/ca-trust/source/anchors/ca.crt'

kubectl create namespace $NAMESPACE
kubectl create sa $SERVICE_ACCOUNT_NAME -n $NAMESPACE

cat <<EOF > $SERVICE_ACCOUNT_NAME-token.yaml
apiVersion: v1
kind: Secret
metadata:
  name: $SERVICE_ACCOUNT_NAME-token
  namespace: $NAMESPACE
  annotations:
    kubernetes.io/service-account.name: $SERVICE_ACCOUNT_NAME
type: kubernetes.io/service-account-token
EOF

kubectl apply -f $SERVICE_ACCOUNT_NAME-token.yaml

CLUSTER=$(kubectl config view -o jsonpath='{.clusters[0].name}')
TOKEN=$(kubectl get secret $SERVICE_ACCOUNT_NAME-token -n $NAMESPACE -o jsonpath='{.data.token}' | base64 -d)

kubectl config set-cluster $CLUSTER \
  --server=https://127.0.0.1:6443 \
  --certificate-authority=$CERTIFICATE_PATH \
  --embed-certs=true \
  --kubeconfig=sa.kubeconfig

kubectl config set-credentials $SERVICE_ACCOUNT_NAME \
  --token=$TOKEN \
  --kubeconfig=sa.kubeconfig

# generate the kubectl config
kubectl config set-context sa-$NAMESPACE-context \
  --cluster=$CLUSTER \
  --namespace=$NAMESPACE \
  --user=$SERVICE_ACCOUNT_NAME \
  --kubeconfig=sa.kubeconfig

# move it to its default place on your system
mv sa.kubeconfig ~/.kube

# test it out
k get pods --kubeconfig=/home/hugo/.kube/sa.kubeconfig
Error from server (Forbidden): pods is forbidden: User "system:serviceaccount:dev:app-reader" cannot list resource "pods" in API group "" in the namespace "dev"
As a developer you would simply copy the file and use it to manipulate the cluster. As I’m using these roles to test out my configuration I will add the token and the context to my administrator ~/kube/config instead. After merging the sa.kubeconfig into your config it should look something like this:
1
2
3
4
5
6
7
8
9
10
11
12
13
14
15
16
17
18
19
20
21
22
23
24
25
26
27
28
apiVersion: v1
clusters:
- cluster:
    certificate-authority: /etc/pki/ca-trust/source/anchors/ca.crt
    server: https://127.0.0.1:6443
  name: cluster.local
contexts:
- name: default
  context:
    cluster: cluster.local
    user: kubernetes-admin
    namespace: default
- name: sa-dev-context
  context:
    cluster: cluster.local
    user: app-reader
    namespace: dev
current-context: default
kind: Config
preferences: {}
users:
- name: kubernetes-admin
  user:
    client-certificate-data: <redacted>
    client-key-data: <redacted>
- name: app-reader
  user:
    token: <redacted>
1
2
3
4
5
6
7
8
9
kubectl config get-contexts
CURRENT   NAME             CLUSTER         AUTHINFO           NAMESPACE
*         default          cluster.local   kubernetes-admin   default
          sa-dev-context   cluster.local   app-reader         dev
kubectl config use-context sa-context
kubectl config get-contexts
CURRENT   NAME             CLUSTER         AUTHINFO           NAMESPACE
          default          cluster.local   kubernetes-admin   default
*         sa-dev-context   cluster.local   app-reader         dev
Let’s allow the service account to read logs from pods
1
2
3
4
5
6
7
8
9
10
11
12
13
14
15
16
17
18
19
20
21
22
23
24
25
26
27
28
29
30
31
32
33
34
35
36
37
cat <<EOF > 2-dev-role.yaml
apiVersion: rbac.authorization.k8s.io/v1
kind: Role
metadata:
name: pod-log-reader
namespace: dev
rules:
- apiGroups: [""] # "" means the core API group
resources: ["pods"]
verbs: ["get", "list", "watch"]
- apiGroups: [""]
resources: ["pods/log"]
verbs: ["get", "list"]
EOF
cat <<EOF > 3-dev-role-binding.yaml
apiVersion: rbac.authorization.k8s.io/v1
kind: RoleBinding
metadata:
name: app-reader-log-binding
namespace: dev
subjects:
- kind: ServiceAccount
name: app-reader
namespace: dev
roleRef:
kind: Role
name: pod-log-reader
apiGroup: rbac.authorization.k8s.io
EOF
kubectl apply -f 2-dev-role.yaml
kubectl apply -f 3-dev-role-binding.yaml
kubectl config use-context sa-dev-context
Switched to context "sa-dev-context".
kubectl get pods
No resources found in dev namespace.
And just like that, the “pods is forbidden” error is gone.
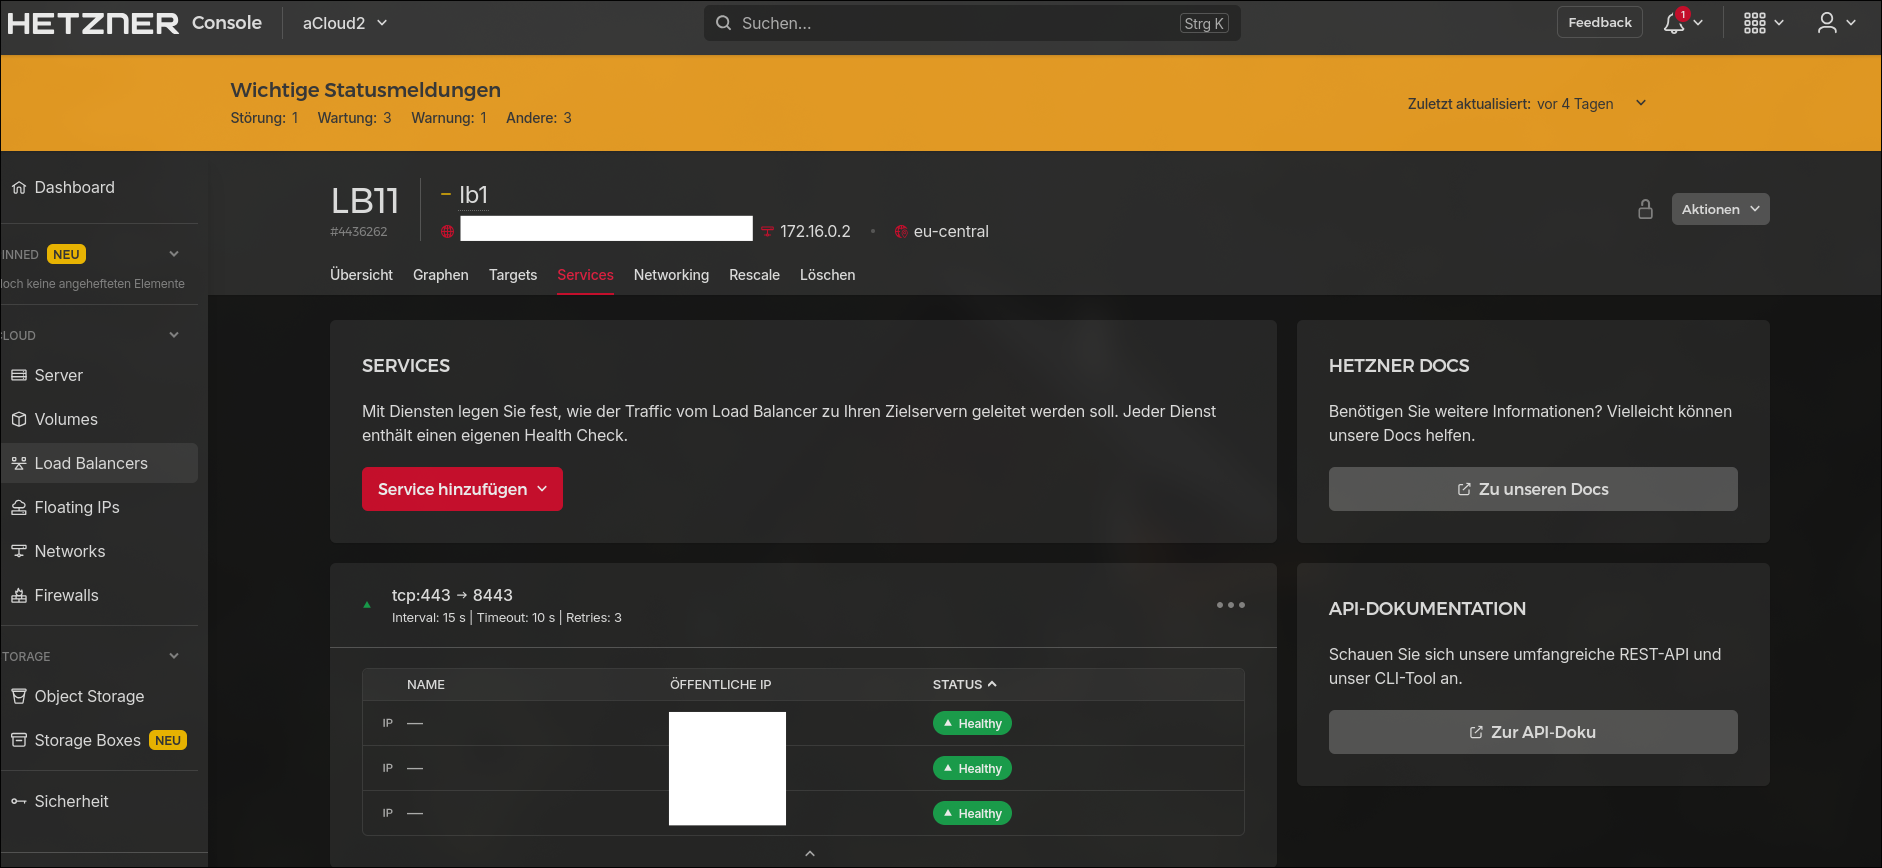
Load balancer
Back in our load balancer dashboard the only thing left to configure is the tcp/443 to tcp/8443 forwarding and you’re ready to go
Conclusion
In the coming weeks I’ll be looking into statefulsets and how to manage databases in kubernetes. I hope you’re enjoying it so far and I will see you on the next one.
Cheers